
Get DiskWise
Download for Mac, or get it on the App Store
DiskWise for macOS is a notarized DMG. DiskWise for iPhone and iPad is on the App Store and helps you clean Photos clutter on-device.
macOS
Download the DMG
Universal binary for Apple Silicon and Intel. macOS 14 or later.
iPhone & iPad
Get it on the App Store
Photos duplicates, screenshots, and large videos — preview, then Recently Deleted. iOS 17 or later.

Install DiskWise on macOS
Follow these steps to download the DMG, drag DiskWise into Applications, and explore disk analysis, system health, and safe cleanup.
- 1
Download the DMG
Get the latest DiskWise build, or pick a specific version from the release history page.
Save the `.dmg` file to your Downloads folder.
Loading latest release…
- 2
Open the disk image
Double-click the downloaded DMG to mount it in Finder.
macOS may verify the notarized build automatically.
- 3
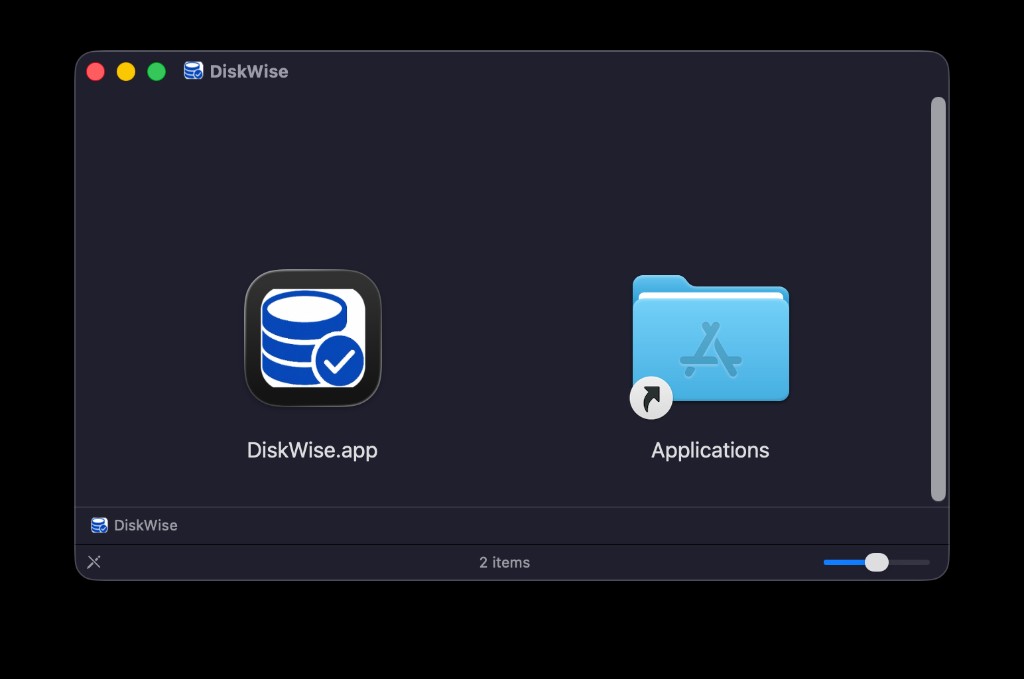
Drag to Applications
Drag DiskWise.app into your Applications folder.
You can eject the disk image after copying the app.
- 4
Launch DiskWise
Open DiskWise from Applications or Spotlight.
On first launch, macOS may ask you to confirm opening a downloaded app.
- 5
Grant permissions when prompted
DiskWise may request Full Disk Access to scan volumes outside your home folder.
Open System Settings → Privacy & Security → Full Disk Access and enable DiskWise when ready.
- 6
Run your first scan or health check
Open Disk Analysis to scan a drive, or System Optimization for a health score and memory insights.
All analysis stays on your Mac — preview cleanup before anything moves to Trash.
System requirements
- • Mac: macOS 14 (Sonoma) or later, Apple Silicon or Intel
- • iPhone & iPad: iOS 17 or iPadOS 17 or later
- • Full Disk Access recommended for complete Mac volume scans
- • Photo Library access required for the iOS app (full access recommended)